3D Optical Profilometer
VR-6000 series
3D Optical Profilometer VR-6000 series

Versatile Profilometer Eliminates Blind Spots and Measures Glossy Surfaces
Easy-to-use, non-contact 3D measurement system. Motorised rotational scanning for performing a wider variety of measurements.
- High-precision 3D measurement of an entire surface in as little as 1 second
- Rotational scanning on a wide variety of materials
- Measure nearly any callout with a single device
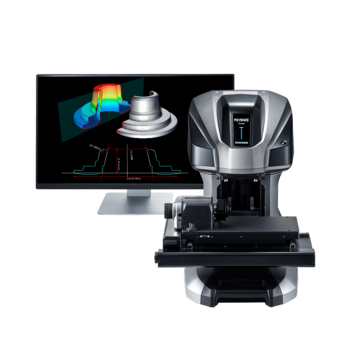
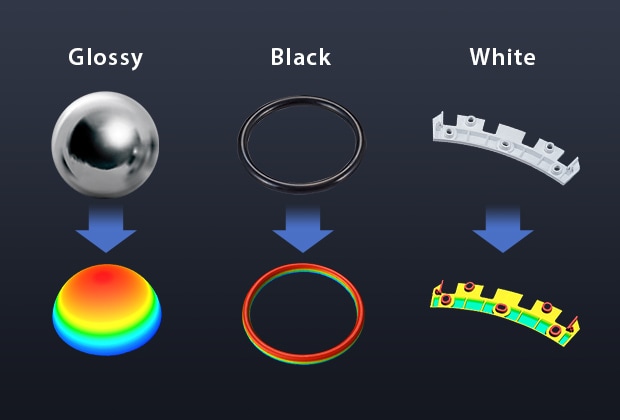
The VR-6000 optical profilometer performs non-contact measurement to replace stylus profilometers and roughness meters. This 3D profile system captures full surface data across the target with a resolution of 0.1 µm, enabling measurement of features that cannot be performed with probe-type instruments. The new rotational scanning greatly expands the measurement capabilities of the system. True-to-life cross section measurements can be performed with no blind spots. Wall thicknesses and recessed features can be measured without cutting or destroying the target. In addition, the HDR scanning algorithm provides enhanced scanning capabilities for instantly determining the optimal settings to capture high quality data, even on glossy and matte surfaces.
Features
Rotational Scanning on a Wide Variety of Materials
A 3D profilometer can be used for a wide range of applications across multiple industries. Examples of materials that can be analysed using a surface profiler include medical devices, jet engine turbine vanes for the aerospace sector, and valve trains found in automotive manufacturing. Using a 3D surface profilometer in these contexts means you can get accurate measurements of material thickness and detection of defects without the need for the instrument to come into contact with the object. Unlike conventional surface roughness profilometers, parts can be rotated to scan surfaces that would not be accessible otherwise. These qualities and capabilities make these devices ideal for collecting measurements and inspecting precision components such as batteries, circuit boards, and stamped metal parts.
HDR Scanning Algorithm Enables Measurement of More Materials
Automatic Rotation to Perform Measurements with No Blind Spots
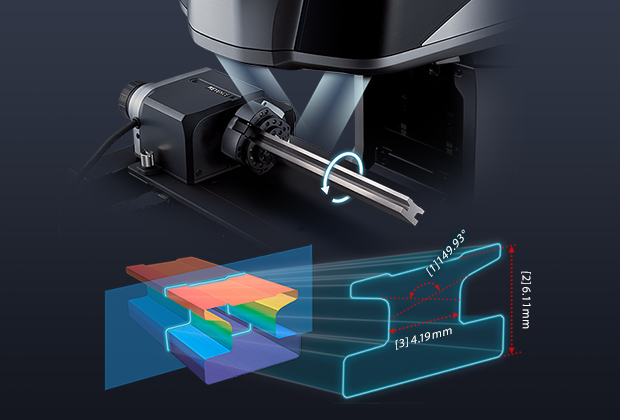
Measure Nearly Any Callout with a Single Device
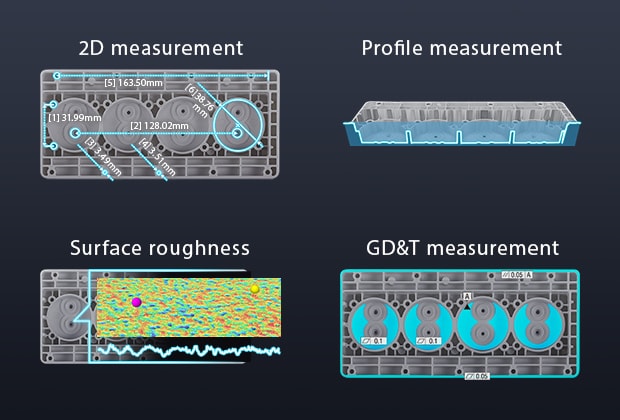
There are numerous measurements that can be taken with a 3D profilometer. For example, this system can be used to record the profile of a target by tracing its surface, enabling measurement of 3D features and surface roughness. It can also capture 2D data to measure lengths, widths, and angles. A 3D profilometer also creates a computer-generated 3D model of the object for visualisation of the overall shape, while still maintaining a high resolution to observe minute surface features.
Capture Full Surface Data with 0.1 µm Resolution in Just 1 Second
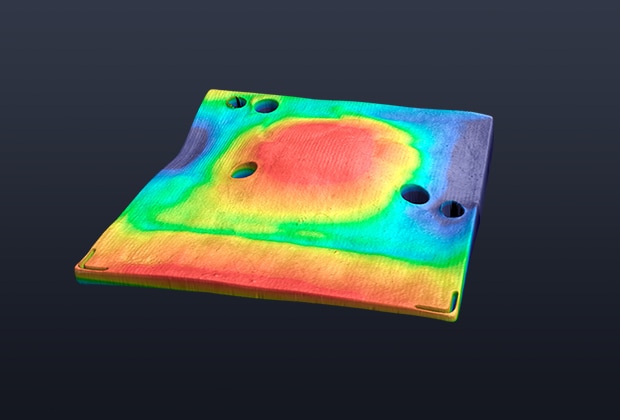
Consolidate Multiple Measurement Systems Into One Device
