Vision Systems
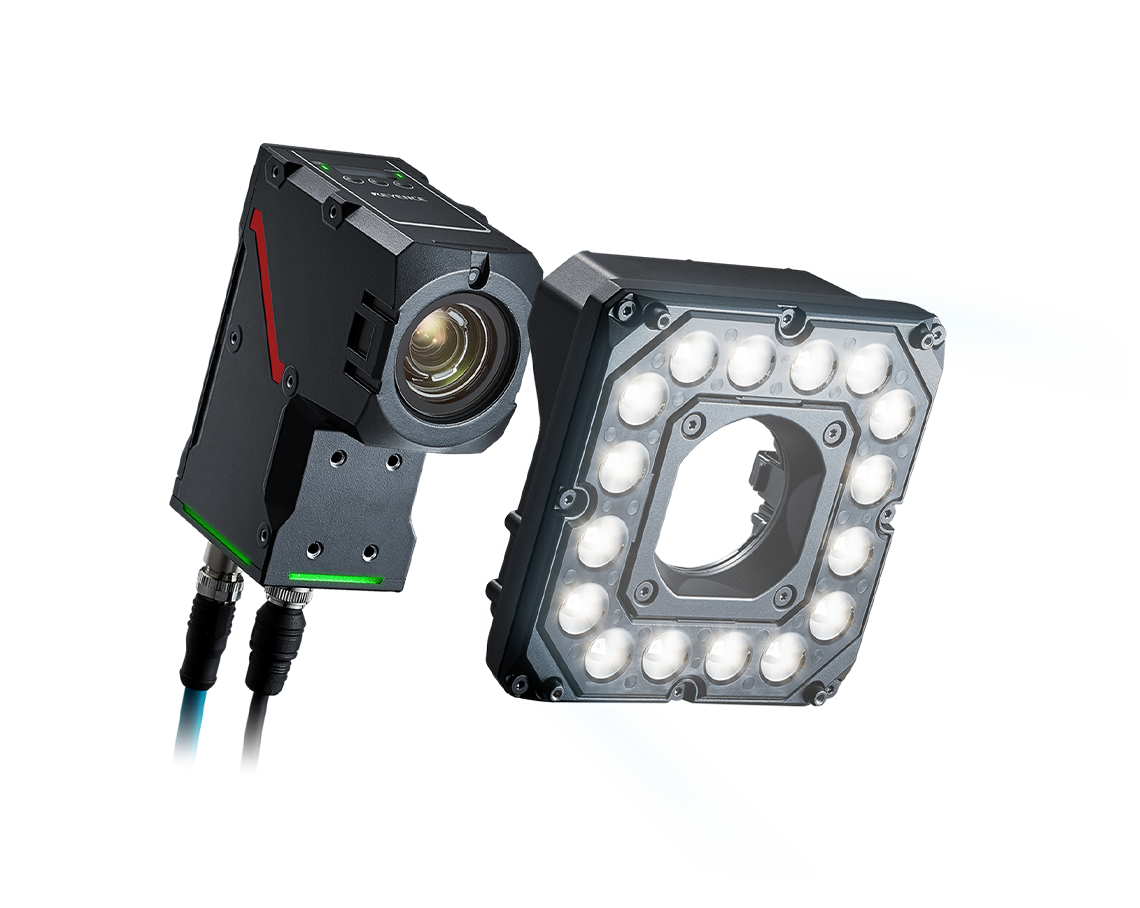
KEYENCE is constantly developing advanced, proprietary vision system technology. With such a range of innovative products, this lineup provides solutions to numerous problems that occur every day at manufacturing sites. These products include all-in-one smart cameras as well as modular high-speed controllers for 2D, line scan, and 3D cameras. When building vision inspections, AI and rule-based vision tools provide options for any application. In addition to worldclass hardware and powerful software, this lineup extends to lenses, lighting, and peripheral equipment for simple optimal image creation with all necessary equipment.
Recommended Items
Products Lineup : Vision Systems
The VS Series delivers rapid machine vision solutions for a wide range of applications at any experience level. This smart camera includes the industry’s first optical zoom function to create optimal images with a single click. The simple-to-use software also enables quick setup of a variety of inspections for both AI and rule-based vision tools. With this simplified setup and ease-of-use interface, the VS Series provides optimised vision solutions as quickly as possible.
Features
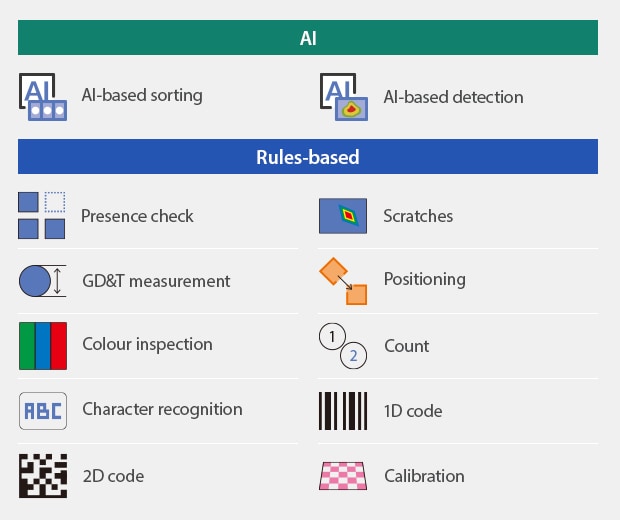
Two AI Technologies for Automation of Previously Impossible Vision Inspections
[Technology 1] Increased detection performance: Proprietary KEYENCE algorithm for smart camera-based 25-megapixel high-accuracy AI inspection
[Technology 2] Increased operational efficiency: Quick and easy startup using a general-purpose PC and only a few dozen images for learning

Best Image with a Single Click
WORLD’S FIRST Optical System with Uncompromised Flexibility with ZoomTrax
The VS Series provides perfect software-based adjustment of focus and field of view. Single model handles everything from wide to narrow fields of view. No more lens selection or changes.

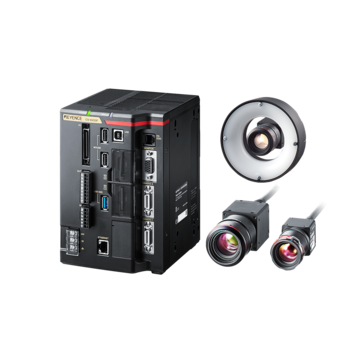
High Performance, Icon-driven system with easy-to-use tools for simple setup by any user.
Features
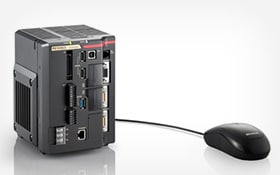
Intuitive, Icon-Driven Vision System Allows Anyone to Setup Reliable Product Inspections
The CV-X Series makes product inspections available to everyone with just a few clicks through Intuitive, interactive menus.
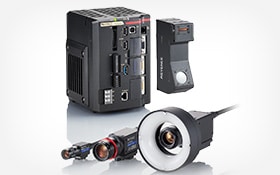
A Full Lineup of the Industry’s Fastest Cameras Providing Solutions to the Most Challenging Inspections in Manufacturing
LumiTrax™ cameras and profile lasers for 3D inspection, and area cameras up to 64 megapixel for the highest resolution requirements can be connected to the industry's most powerful 14 core processors.
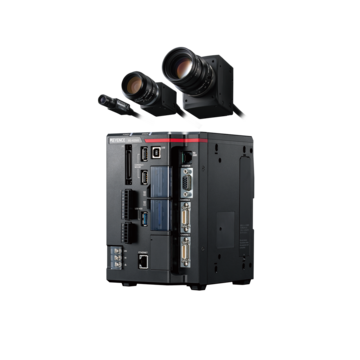
Flexible programming interface with 3D and linescan capabilities for high-quality, high-speed inspection and control.
Features

Flexibility Made Possible By the Fastest Performance in the Industry
Abundant processing power is available even with multiple camera connections, including the 64 megapixel colour camera, lines scan cameras, or 3D cameras.
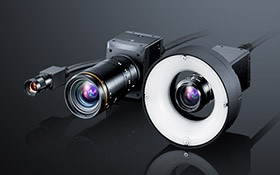
Offers the Best Solution with Many High-Resolution Camera Options
XG-X Series offers high-speed, high-resolution cameras for high-accuracy inspection, providing powerful solutions for a variety of problems that arise in manufacturing.
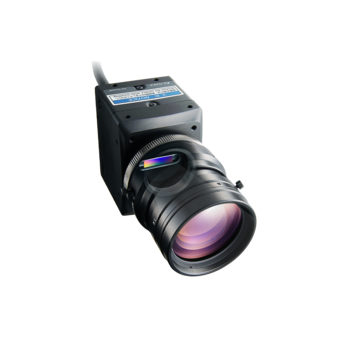
High-speed cameras for inspection and defect analysis on large parts, continuous webs, and cylinders.
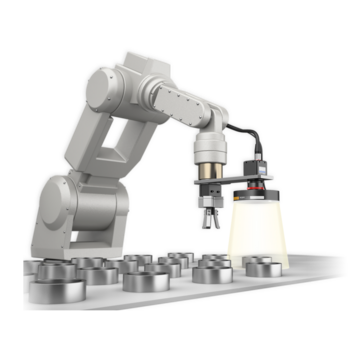
Vision Systems for pick and place applications, with direct connection and automatic calibration for most major robot manufacturers.
Features
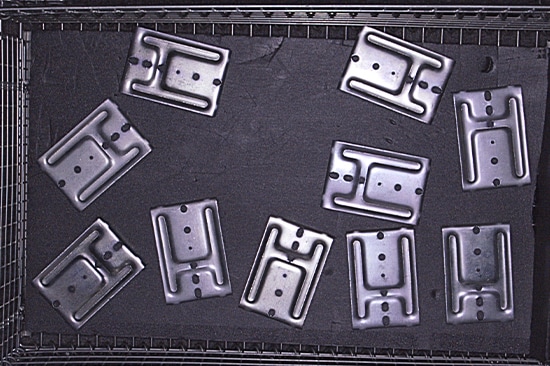
Bright, Uniform Illumination Even Over a Wide Field of View
With a wider field of view, brightness can be uneven with a noticeable difference in intensity between the centre and the edges of the screen.
Advanced imaging technologies such as overdrive lighting with high intensity smart ring illumination and HDR capturing help to minimise such differences even with a wide field of view.
Before
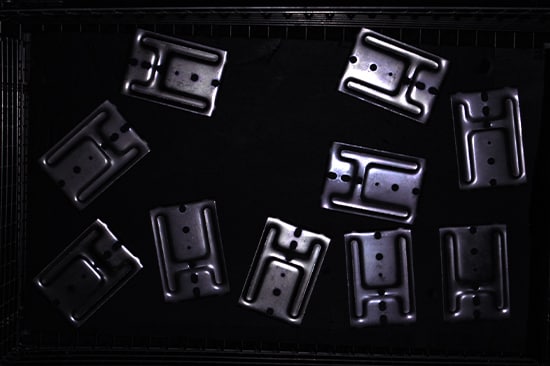
After
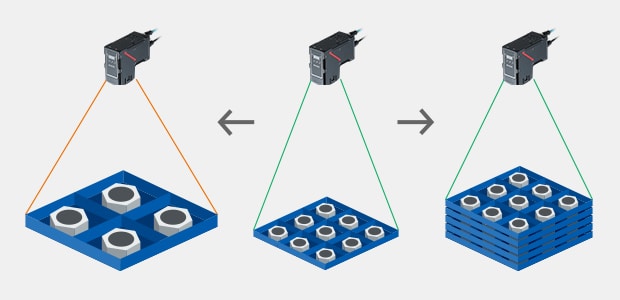
Support for Multiple Pallets and Tooling Changeover
ZoomTrax automatically changes the field of view to suit the size of the target, and automatic focusing makes it possible to handle pallets with different heights, allowing for usability in a wide variety of production environments without changing lenses.
Products Lineup : Other Accessories
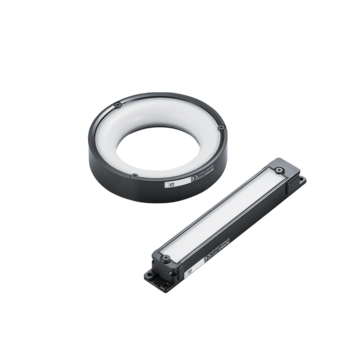
High-intensity lighting to ensure high quality images are captured every time.
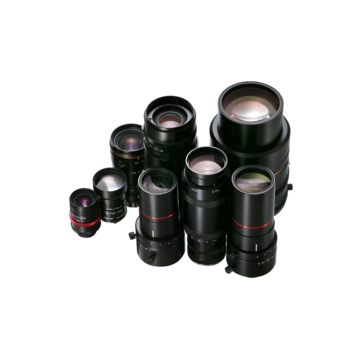
Ultra high-resolution, low distortion lensing for area and line scan cameras.
Discontinued Series
A vision system combines industrial cameras, lenses, and lighting to automate visual inspections of manufactured products. KEYENCE vision systems are controller based, which enables them to be the fastest and most versatile systems on the market. Vision systems can be used in a wide range of applications, such as defect detection, assembly checks, character and code reading, and positioning for industrial robots.
Vision system principles and mechanisms
Vision systems can be customized to fit specific application needs, and each system generally consists of a camera, lights, and a controller (image processing unit). This section introduces principles of using a vision system for inspections and explains the process from the beginning of capturing an image to the end of outputting inspection results.
1. Image capturing
To capture an image, light illuminates a target, and this light is focused back through a lens onto the camera’s image sensor. The gathered image data from this capture is then transferred to the vision controller for image processing and judgement.
2. Pre-processing
Pre-processing operations remove unwanted/noisy qualities while emphasizing wanted features in the image data before analyzing the images. These operations are customized for the inspection, and examples include image filtering and color extraction.
3. Measurement processing
After an image has been pre-processed, inspections like measurement, positioning, counting, OCR/code reading, and defect detection can take place.
4. Sorting/Output
Processed image data is used to perform OK/NG judgment, record measured results, or categorize parts. Both images and data output, and communication with other devices can be established.
Diverse applications within various industries can be solved with visual inspections. Vision systems from KEYENCE provide easy to use interfaces with powerful results thanks to intuitive software and customizable hardware. Proper selection of cameras, lighting, and controllers is essential to tailor and optimize inline inspections. Additionally, inspections are customized to each application to ensure proper criteria are met.
In addition to part identification, defect detection, and verification, vision systems can be used for the growing need of vision-guided robotics. KEYENCE vision systems are designed to connect directly to all major brands of robot controllers. Provided robot programs for each manufacturer eliminates complicated robot programming for the end user. Supported brands include FANUC, Yaskawa, ABB, KUKA, Denso, Epson, Kawasaki, Mitsubishi, Staubli, Yamaha, Universal Robots, and more.
Benefits of Vision Systems
Adopting a vision system makes it possible to perform 100% inline inspection automatically for items that would otherwise need to be inspected manually. No additional costs are needed after the vision system is installed, and variation in judgment results between operators can be eliminated.
Improvements in vision system technology have enabled advanced, automated inline inspections for any level of user. It’s now possible to inspect 100% of products on high-speed manufacturing lines, so defective parts can be identified before additional processing or release. If similar inspections were done manually by operators, this process would be slower and less reliable.
Thanks to high-speed cameras and image processors, multiple images can be taken under different lighting conditions fast enough for 100% inline inspection. This makes it possible to complete multiple inspections at the same time, using variable lighting to pull out complex or low-contrast features and defects.
Using a vision system to act as the "eyes" of an industrial robot can significantly improve the accuracy and efficiency of advanced picking operations. The vision system detects a product’s position in the robot's coordinate system, and outputs these measurements directly to the robot controller for dynamic adjustment.
Conventional industrial robots require operators to specify coordinates manually using a teaching pendant. This manual operation can be time consuming, and accuracy may vary between operators. KEYENCE vision systems can communicate directly with many robot manufacturers, allowing for easy connection and efficient programming of the robot. This connection automates the cumbersome tasks of calibration and calculation, which stabilizes inspections and reduces the time required for integration.
Vision System Case Studies
Case studies of vision systems in the automotive industry
In the automotive industry, even a small defect can result in a serious accident. To mitigate this potential risk, strict inspection requirements ensure rigorous quality and safety standards. Vision systems allow users to meet quality specifications, increase efficiency, reduce costs, improve accuracy, and ensure traceability of component inspections. Application examples include:
- Presence detection: moisture-proofing agents on ECU's, fuse assembly checks, and
- Appearance inspections: DPF, oil seal, engine valve, piston coating, and differential gears
- Measurement/alignment checks: battery positioning, bent connector terminals, spark plug dimensions, gather positional data for robotic pick and place applications
Case studies of vision systems in the food and medicine industries
In the food and medical industries, inspection standards are regularly strengthened, and traceability is required to ensure safety. A vision system makes it possible to automate inspections and easily store image/result data. Application examples include:
- Presence detection: ensure proper case count, multiple components such as straws adhered to drink cartons
- Appearance inspections: character recognition (OCR) for lot codes, proper forming and no defects in food trays, shrink wrap, blister packs, and cans
- Measurement/alignment checks: label placement, seal width and position, needle dimensions, gather positional data for robotic pick and place applications
Case studies of vision systems in the electronic devices industry
As electronics such as smartphones, gaming consoles, and PC's become smaller and thinner, their semiconductors and other electronic components need to be even more compact and accurate. KEYENCE vision systems improve inspection accuracy to meet the growing needs of these precise assemblies. Additionally, 3D vision systems bring ultimate stability to these inspections to identify height changes despite low contrast in materials. Application examples include:
- Presence detection: pins, connectors, solder
- Appearance inspections: crystal oscillators, IC molds, LEDs
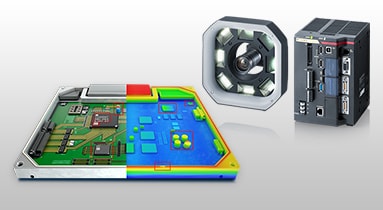
- Measurement/alignment checks: Connector pin co-planarity, tray orientation, PCB warpage, terminal heights
Case studies of vision systems in the resin and container industries
Vision systems are used in the molding and resin industries to automate inspections and ensure defective products are not released. These inspections are necessary to detect any mishaps in processes such as injection molding, plastic forming, laminations, and product labeling. Application examples include:
- Presence detection: resin coatings, cap presence, proper labeling
- Appearance inspections: container inner surface inspection, product flash, resin scratching/chipping, foreign particles, pin holes
- Measurement/alignment checks: gasket center misalignment detection, label misalignment detection, bottle opening dimensions
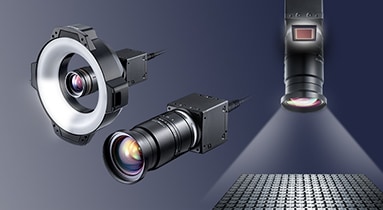
When using a vision system, the hardware will be selected based on the application specifications and desired inspection details. This section outlines how to select the best camera, lens, lighting, controller, and any other accessories needed.
Selecting a Camera
Area cameras are categorized into four main groups: high-resolution models, high-speed models, standard models, and compact models. Each model has the ability to be color or monochrome. The correct camera is dependent on the application, which is outlined below.
1) Determine the number of pixels necessary to meet accuracy requirements.
2) Select the transfer speed based on the needs of the application.
3) Select a camera size based on installation space.
4) Select either a color or monochrome camera based on what kind of inspection is needed.
Selecting a Lens
When choosing the right lens for the vision system, there are a variety of factors to consider. Both the field of view (FOV) and working distance (WD) of the inspection will determine the right lens focal distance for image capture. The depth of field (range of the depth of focus) and contrast are other important considerations when selecting a lens. A general selection procedure is outlined below.
(1) Determine the focal distance based on image capture size (FOV) and installation distance requirements (WD).
(2) Determine the depth of field needed based on the height and shape of the target. Targets with varying height surfaces and features will require a greater depth of field. The depth of field will increase as working distance increases, as focal length decreases, and as the aperture becomes narrower.
(3) Select a high-resolution lens or standard lens according to the necessary inspection accuracy and contrast of the target.
Selecting lighting
The lighting direction, color, and type will be determined by a combination of target characteristics, inspection needs, and surrounding environment. Outlined below is a general lighting selection process:
(1) Decide the direction of the lighting: Depending on the material and shape of the target along with the inspection purpose, select one of the following illumination types: specular reflection, diffuse reflection, or transmission.
(2) Decide the lighting shape and size: If choosing specular reflection in Step 1, select either coaxial lighting, ring lighting, or bar lighting. If choosing diffuse reflection, select either low-angle lighting, ring lighting, or bar lighting. If choosing transmission, select either surface lighting or ring lighting
(3) Decide the color (wavelength) of the lighting: For color camera inspections, white lighting is standard. For monochrome camera inspections, colored lighting can help enhance image contrast using complementary colors and wavelengths
Frequently Asked Questions About Vision Systems
A color camera is generally preferred when inspecting for changes or irregularities in color. Each pixel of a color image holds RGB information, which is three times the data of a monochrome pixel. Because there is more data per pixel, extraction and differentiation easier.
Monochrome cameras are preferred for measurement type inspections, where strong edge extraction is needed. Monochrome cameras are also commonly paired with colored lighting to aid in inspection. Examples include mitigating ambient light, causing a UV-dyed material to fluoresce, and emphasizing surface scratches.
Traditionally, colored lighting is paired with a monochrome camera, and the color (wavelength) of light will vary depending on the desired inspection. Colors which closely match a given target or are complementary to the target color can strategically manipulate and stabilize the image. To differentiate subtle differences in surface characteristics and further stabilize inspections, an intelligent lighting method called Multi-Spectrum uses eight different colors of light to gather more pixel data per pixel. Having data from multiple wavelengths creates more contrast between like-colors, and a true color image can be shown on the operation screen despite using a monochrome camera.
KEYENCE vision systems can perform appearance inspections on a variety of target surfaces. Sophisticated inspection algorithms, such as the defect tool, can detect localized changes in contrast to identify scratches and stains. Because the inspection looks for localized changes, external influences like ambient light do not disrupt the inspection. In addition to robust inspection tools, 24 image enhancement filters are available to reduce the effects of uneven lighting, rough surfaces, or variation among products. Two noteworthy filters are the scratch defect extraction, which enhances linear flaws on rough targets, and the shading correction, which emphasizes sharp changes in contrast while eliminating gradual ones.
Stable detection of burrs and chips relies on the accuracy of edge extraction. KEYENCE vision systems include profile defect tools, which precisely extract lines, circles, ovals, and free form curves to detect any sections which stray too far from the expected shape. The user can specify thresholds to control the size and severity of considered flaws.
All KEYENCE vision systems include a wide range of measurement and dimension tools, which make finding intersections, midpoints, and distances very simple. For example, simply click anywhere along an edge to auto-extract that line, or refer to line results from a tool which has already been configured. This intuitive interface allows users to easily create complex inspection settings while combining several measurements and dimensions.

![[Easy 3 Step Guide] Selecting Your First Vision System](/img/asset/AS_107386_L.jpg)
![The Latest Image Processing Applications [Transportation Industry]](/img/asset/AS_103358_L.jpg)
