- Home
- Solutions
- Case Studies
- Gearing Up for Quality at Forest City
Gearing Up for Quality at Forest City

Quality inspector, Amy Sovina, says she's not a big fan of turning the knobs on an optical comparator.
Not only is it time consuming and tedious, but measurement results are often subjective as well. So when she learned that her employer, Forest City Gear, was purchasing an IM Series automated inspection machine from KEYENCE, she looked forward to the time it would save on incoming inspection of gear blanks from outside suppliers.
Little did she know the KEYENCE IM would soon become one of the busiest pieces of metrology equipment on the shop floor.
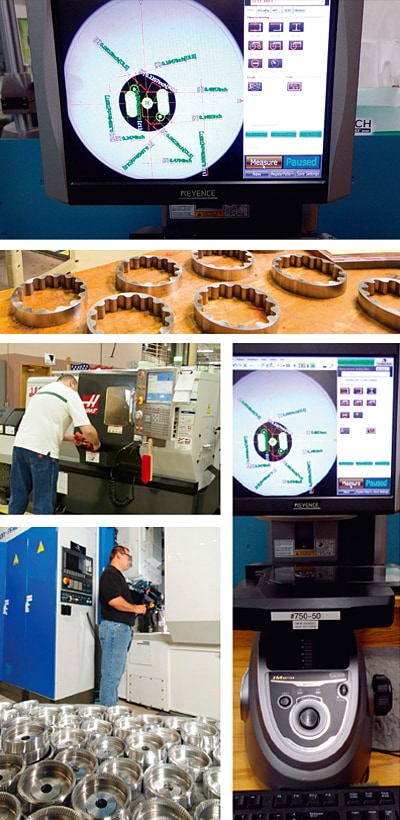
“Overall, the Instant Measurement has received a very favorable reception,” says Sovina. “It's especially popular with the people in the turning department. They're able to get accurate dimensional checks very quickly, and it's reduced a lot of the hands on work with height gages and micrometers. The more they use it, the more confident they are with the results.”
Forest City Gear sits a short distance from the Rock River, in the heart of Roscoe, Illinois. The company has been in business more than 60 years, machining highquality gears for the aerospace, medical, transportation, and other industries that require hobbed, skived, and precision-ground geared components. This includes helical, spur, spline, and worm gears, some with tolerances to ten-millionths of an inch and diameters larger than a bicycle wheel.

“With those accuracy requirements, the company had to invest millions in gear form measurement and analysis equipment, but was looking for a quick and easy way to measure other part features,” explains Forest City quality manager Dennis Atchley.
That need arose with the recent contract from a robotics manufacturer that supplies pick and place machines for use in the warehouses of a major online consumer products reseller.
“Forest City Gear has traditionally focused on very high-tech, low-volume work—gears for unmanned drones, satellites, aircraft components, etc. A big order to us was 100 pieces.
Suddenly, we were faced with inspecting 100,000 parts per year.”
Atchley turned to KEYENCE for help. The IM-6700 Series Image Dimension Measurement System measures multiple part features simultaneously, without the need for positioning fixtures— simply place the workpiece on the measurement stage and press the measure button. Within three seconds, up to 99 part features and hundreds of points are identified and measured, and the results automatically recorded. Lines, circles, and arcs are automatically recognized, and a special algorithm applied to fit such features within a user-definable number of points. Chips, burrs, and debris are likewise filtered, improving accuracy and ease of use for the operator. Most importantly, the IM is accurate to within +/- 2 μm.
This was all good news for Atchley, who is especially pleased with the IM's ability to calculate 6σ, CPK, and other statistical analyses. “We had a job running just last week where the customer was asking for a process capability study on a ground taper,” he says. “We set it up so the operator could take in-process measurements of the gage line as the parts came off the machine. It's come in real handy for things like that, especially with our higher part volumes.”
Another area where the IM has come in handy is statistical process control (SPC) of subcontracted operations. Atchley said one of the new part families is comprised of 16 different components and requires thousands of measurements per month.
Having the ability to simultaneously check all the lengths on a gear shaft, for example, or multiple bearing journal diameters, has greatly increased throughput on receiving inspection, and at the same time makes data capture and report generation much simpler. “It gives us greater confidence in the subcontractor's process control.”
As the one responsible for taking all those measurements, Amy Sovina is quite happy with the IM's speed and easy setup.
“Programming was quite easy to learn,” she says, and it took no more than half a day with the KEYENCE representative for her and team to become familiar with the system. As a result, she's expanded the IM's role beyond inspection of the parts coming in the receiving door.
“Quite often I can use the same program for the subcontracted gear blank and final inspection of the workpiece,” she says. “Some of the dimensions will have changed during our in-house machining and gear cutting operations, but the IM is still able to pick up the part features. Because I only have to program it once, it saves us a lot of time. Long term, the Instant Measurement will be a big benefit to the company.”
APPLICABLE PRODUCT CATALOGUE
- PLEASE
CONTACT US

