Glass Product Defect Analysis and Fractography
Glass is used in various industries. Its wide range of applications includes not only windows, smartphones, and optical lenses but also glass PCBs, glass fibres, and other such special components and materials that are invisible to most people in their daily lives.
Glass has low elasticity and toughness and breaks easily, so quality inspections of glass products are performed frequently with great care. However, the observation of small scratches on highly glossy surfaces requires highly talented inspectors and advanced inspection devices.
This section introduces the basic knowledge of glass fractography and examples of using the VHX Series, KEYENCE’s latest 4K Digital Microscope, to solve the problems in defect analysis.
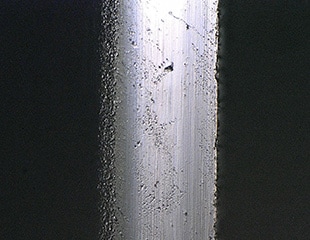
- Glass Fractography
- Examples of Defect Analysis of Glass Products Using a 4K Digital Microscope
- One Microscope Supports Everything from Observation and Analysis to Report Generation
Glass Fractography
Compared to materials such as steel and aluminium, glass breaks without deforming under the application of tensile force greater than or equal to its mechanical strength. The reason for this phenomenon is that because glass is a brittle material with poor toughness and elasticity, it does not deform under the application of force; nearly all of the applied force is used in fracturing the glass.
The same can be said for scratches caused by collisions. Glass does not dent or deform, so it scratches easily, and such scratches can quickly lead to the glass fracturing. Also, even for glass that has not been subjected to collisions or friction and appears free of scratches, magnified observation can reveal countless subtle scratches (Griffith cracks), which are said to reduce the physical strength of glass to approximately 1/100 of its theoretical strength.
On the other hand, because glass fractures with almost no deformation, the cause of the fracture, which does not remain on aluminium and other such malleable materials, often remains on the fracture surface. The strength, speed, and direction of the collision are expressed by crack, mirror surface, cloudy surface, and hackle patterns. The shape of patterns known as rib marks expresses the speed and direction with which the fracture progressed.
In other words, glass fractography refers to accurately capturing the status of the fracture surface and observing the orientation, size, and number of the patterns listed above in order to investigate the fracture situation. Herein lies the reason why the observation of fracture surfaces using a highly accurate optical or digital microscope is vital to the defect analysis of glass products.
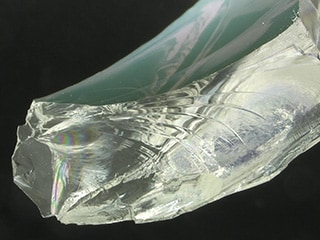
Examples of Defect Analysis of Glass Products Using a 4K Digital Microscope
Glass is used in a wide variety of products and components. This section uses glass fracture surface, scratch, and end face polishing status observation examples to introduce defect analysis of glass products. It also introduces examples of defect analysis using a 4K Digital Microscope for glass products that most people do not see during everyday life. Examples of such products include glass PCBs (for which patterns and marks are observed) and glass fibres.
Glass fractography
The high-resolution lens that enables a deep depth of field and high-resolution observation, the 4K CMOS, and the real-time depth composition of the VHX Series 4K Digital Microscope make it possible to instantaneously obtain, with easy operations, high-definition images in which the entire target is fully focused.
Such images enable high-definition observation and analysis of the microscopic information seen in fracture surfaces.

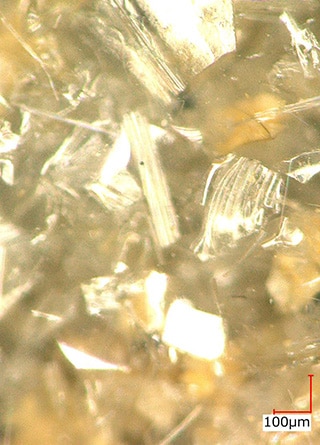
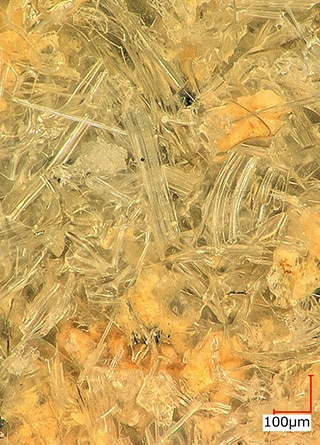
Analysis of minerals inside glass
Observing minerals inside glass requires three-dimensional focusing. Conventionally, one part of the image is brought into focus for observation, and the focus must be adjusted to observe other areas. This work requires a lot of time and effort as well as careful operations.
The deep depth of field and the real-time depth composition of KEYENCE’s 4K Digital Microscope make it possible to obtain clear images in which the entirety of the minerals inside the glass are fully focused, even at high magnifications.
Glass bottle scratch analysis
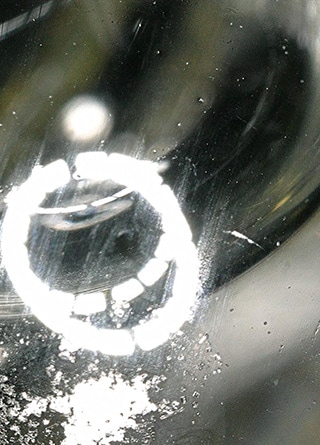
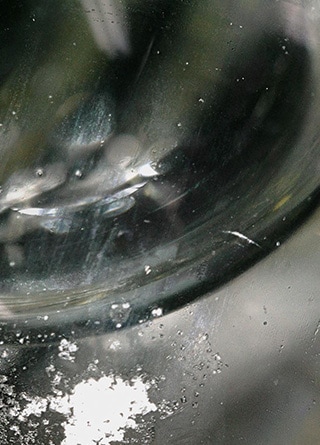
The glossy, smooth surface of a glass bottle is obtained through multiple polishing steps. However, this glossy surface is one of the causes of difficulty in defect analysis.
Conventionally, the strong reflected light coming off of the surface of a glass bottle hinders the observation and analysis. Of special note is strong, ring-shaped reflected light, which made observation and analysis impossible and was therefore a major problem.
However, with the VHX Series, KEYENCE’s latest 4K Digital Microscope, the ring-reflection removal function can be used to eliminate this reflected light. This function makes it possible to accurately observe even trivial scratches on glass bottles with beautiful polished surfaces.
Quartz glass microcrack analysis
The VHX Series 4K Digital Microscope is equipped with a high-resolution lens and a 4K CMOS to enable high-resolution imaging. Even glass microcracks and other such extremely small targets can be observed with high-definition images.

Glass end face polishing scratch analysis
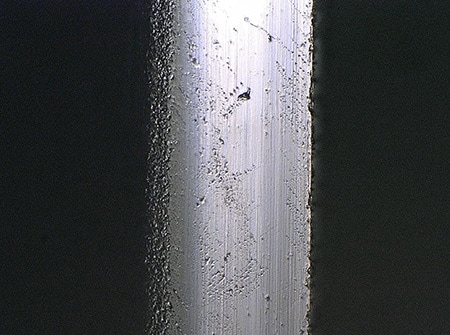
The VHX Series 4K Digital Microscope can use diverse functions to clearly capture microscopic flaws and thereby enables accurate and fast observation, analysis, and evaluation.
The multi-lighting function obtains multiple images with omnidirectional lighting at the push of a button. The user only has to select the image that is optimal for analysis, so this function greatly reduces the time spent on lighting condition extraction work. Even after selecting or saving an image, it is also possible to load an image that has been saved automatically and has different lighting conditions and to use this image to perform various measurements.
Glass PCB pattern mark observation
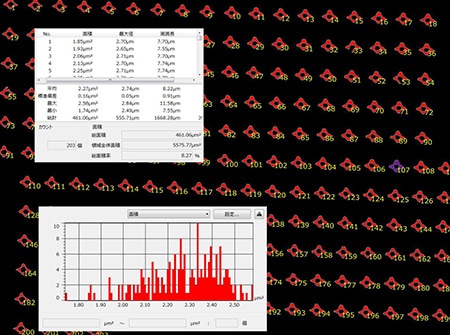
Within the specified range, the VHX Series 4K Digital Microscope can automatically count the number of targets and measure their areas.
Binary processing is performed on the basis of the image’s brightness and colours. From the binary processed image data, parameters such as the area, maximum diameter, and minimum diameter can be calculated; targets that are not required can be excluded; and overlapping targets can be separated. It is also possible to perform analyses with the same conditions by using image data that was measured in the past.
Furthermore, measured values can be output to tables and histograms, which makes it possible to quantitatively determine the particle size distribution characteristics.


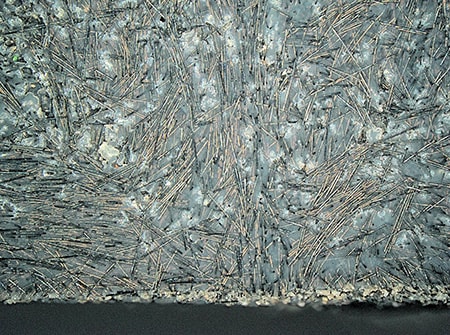
The high-resolution lens and 4K CMOS of the VHX Series enable the observation of glass fibres and other such extremely small targets with high-definition images.
One Microscope Supports Everything from Observation and Analysis to Report Generation
The VHX Series high-definition 4K Digital Microscope offers excellent efficiency and makes it possible to eliminate human errors and ensure accurate glass defect analysis.
The high-definition 4K images generated by the cutting-edge optical image processing and automation techniques allow for automatic area measurement and counting on glass products with simple operation, contributing to producing quick, sophisticated analysis results.
The captured or measured data can be easily output as a report with a fixed format using the report function. This can be useful for not only quality assurance but also for identifying any problem that may arise and subsequent process improvements.
Equipped with many other advanced functions, the VHX Series can be a powerful partner for defect analysis of glass products. For details, click the button shown below to download the catalogue. For inquiries, click the other button shown below to contact KEYENCE.


